

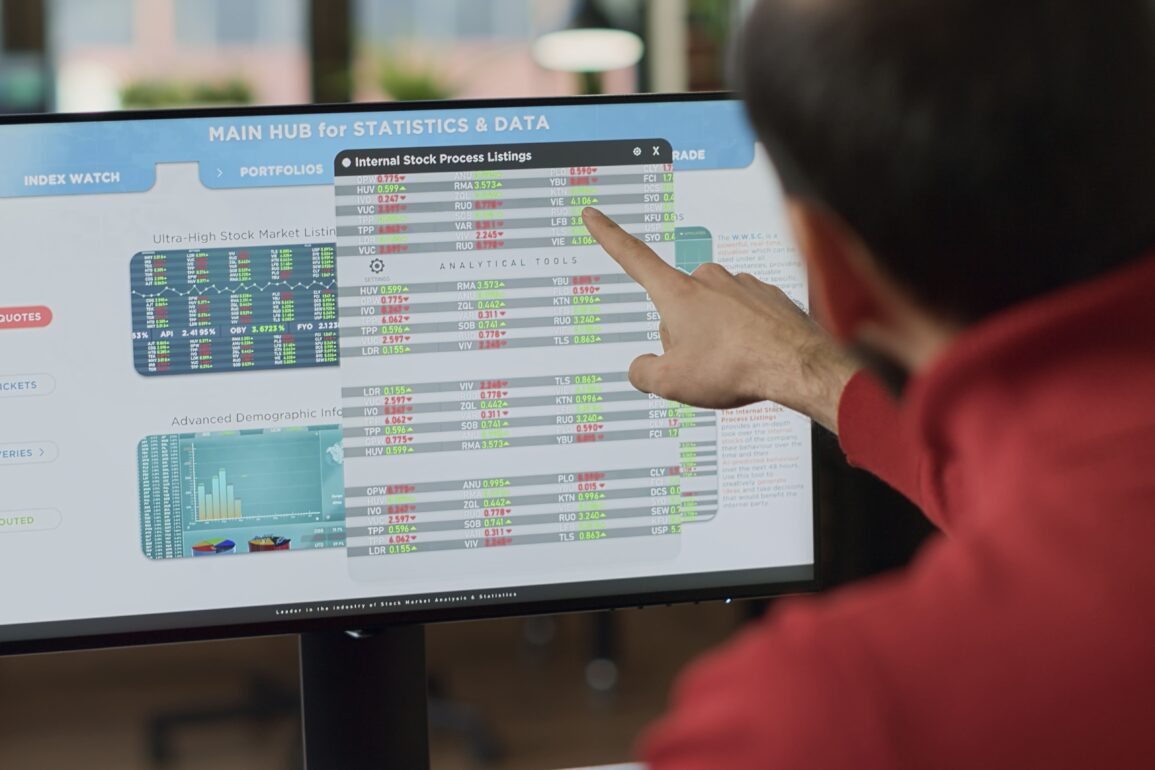
Most retail traders start with simple volume bars at the bottom of the chart. Those bars show how much trading happened in each candle, but they hide a big piece of the puzzle: where that volume actually traded. Volume Profile and Order Flow tools fix that gap. They help traders see the real battle between buyers and sellers at specific prices instead of just looking at time-based candles.
These tools once belonged mostly to professional desks. Today, regular traders around the world can use simplified versions on many platforms. The ideas stay the same whether someone trades stocks in New York, futures in Chicago, forex pairs, or crypto. Here is a clear, practical breakdown of the basics plus useful tips for applying them.
What Volume Profile Actually Shows
Volume Profile displays total volume traded at each price level during a chosen period. Instead of a vertical volume bar, it creates a horizontal histogram along the price axis. Thick parts of the profile mean a lot of trading happened at those prices. Thin parts mean very little.
Key parts of a Volume Profile include:
- Point of Control (POC) — the single price level with the highest volume. Price often returns to the POC because that is where the market found the most agreement.
- Value Area — the price range that contains roughly 70% of the total volume. Traders often treat the edges of the Value Area as important support or resistance zones.
- High Volume Nodes (HVN) — thick areas of the profile. These show prices where the market accepted and spent time. Price tends to slow down or reverse when it revisits these zones.
- Low Volume Nodes (LVN) — thin areas. These show prices the market moved through quickly. When price returns to an LVN, it often moves fast again because there is little support or resistance.
Tip: Start by looking at the daily or weekly Volume Profile on higher timeframes. Many platforms let traders plot a fixed-range profile or a session profile. Watch how price reacts when it touches the POC or the edges of the Value Area. These reactions often give cleaner information than classic support and resistance lines drawn by eye.
Order Flow in Simple Terms
Order Flow looks at the actual buy and sell activity happening right now. While Volume Profile shows where volume occurred, Order Flow shows who was more aggressive — buyers or sellers.
Common Order Flow elements include:
- Delta — the difference between aggressive buying volume and aggressive selling volume in a candle or price level. Positive delta means buyers were more aggressive. Negative delta means sellers pushed harder.
- Cumulative Delta — a running total of delta over time. Divergences between price and cumulative delta can sometimes warn of weakening moves.
- Footprint charts — detailed views that show volume traded at each price inside a candle, often split into bid and ask side. These reveal absorption (big volume that fails to push price further) or exhaustion.
- Time and Sales (or Tape) — a live list of individual trades. Watching the speed and size of prints helps gauge urgency.
Tip: Order Flow works best on liquid markets with tight spreads — major stock indices, popular futures contracts, large-cap stocks, or high-volume crypto pairs. On thin markets the data becomes noisy and less reliable.
How Volume Profile and Order Flow Work Together
Volume Profile gives the map of past acceptance and rejection. Order Flow shows the current fight. Combining both creates stronger context.
For example:
- Price approaches a High Volume Node from previous days while Order Flow shows strong buying delta. That combination often supports a bounce.
- Price reaches a Low Volume Node with heavy selling pressure on the footprint. The move may accelerate through that thin area.
- Price sits at the POC while delta stays neutral. The market may stay range-bound until one side becomes aggressive.
Tip: Use Volume Profile on the higher timeframe to locate key levels. Then switch to a lower timeframe or footprint chart to watch Order Flow as price reaches those levels. This multi-timeframe approach keeps the big picture clear while still catching short-term opportunities.
Practical Tips for Everyday Use
- Keep the profile clean. Too many overlapping profiles create clutter. Many traders use one fixed-range profile for the current week and a separate session profile for the day. Reset or hide old profiles regularly.
- Focus on reaction, not prediction. Volume Profile levels are not magic lines that must reverse. They are zones of interest. Wait for price action or Order Flow confirmation before acting. A strong rejection candle or clear shift in delta at a High Volume Node carries more weight than the level alone.
- Watch for absorption. On footprint charts, absorption appears when large volume hits a price level but price refuses to move further. This often signals that strong hands are absorbing the opposite side’s orders. It can mark turning points when it happens at a Volume Profile node.
- Compare current session to previous profiles. If today’s price trades above yesterday’s Value Area with positive delta, the market is accepting higher prices. Trading below the previous Value Area with negative delta suggests acceptance of lower prices.
- Use multiple markets carefully. The same principles apply to stocks, futures, forex, and crypto, but liquidity differs. Major index